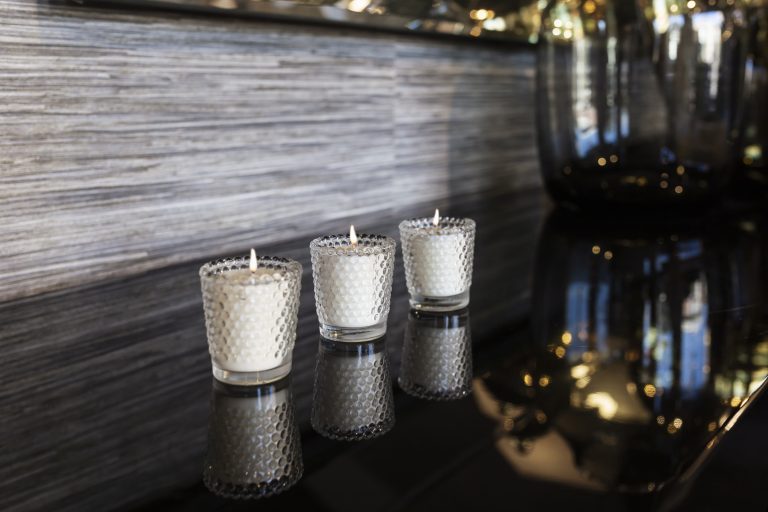

How exciting! You have finally decided to try making a few candles for yourself and/or perhaps to give some to friends & family.
Now you are getting ready to transform your kitchen into a little workshop for the day. This is exactly how we started out, as so many successful businesses do so. We are filled with tips and tricks to help you get set up, cost effectively and still have a quality scented candle to enjoy.
First tip: It is helpful to have an idea of how many candles you will make in your first batch, as this will help you decide what size of jug to buy etc. In our factory, we use different jugs for each fragrance to avoid cross contamination. You don’t have to do this at the beginning- it’s something to tuck in the back of your head for the future.
Second Tip: If you are purchasing or using varied sizes of containers from an op shop or home, have the diameters pre-measured to ensure you have the correct wick size for the containers. Keep a little log book with the diameters and the wick size to help you understand how each fragrance burns.
Third Tip: Record the empty weight of the jugs you use for measuring your fragrance and wax in a book in case you forget to take a tare when you get to the measuring portion of your candle making steps.
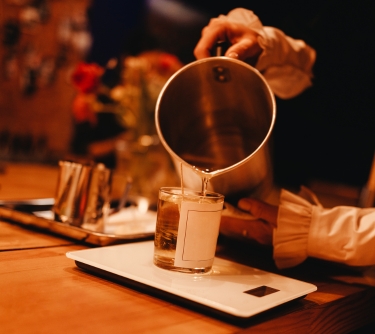
Fourth Tip: Using water, fill your vessel to the level you desire and record the ml’s so you have a rough idea of how much melted wax you will need. **** Dry wax weighs less than water
You can purchase each supply separately, or purchase one of our kits to make it easier!
Click to Shop our DIY Kits

Getting Set Up
Now it’s time for some math 🙁
But have no fear, we have it all sorted for you! 🙂 We even have a wee calculator for you to use to make it as easy as possible!
Now that you know how much wax you require to melt, you can set your double boiler up to begin to slowly melt your wax. We like to start with the water at tap temperature, and bring up to a simmer, so slowly allow the temperature of the wax to increase. During this time, it is important to stir regularly.
While the wax is melting, you can pre-measure the fragrance you need, and take some notes on observations of the initial melt point of the wax, temperature inside your workspace, weather conditions outside etc.
Keep checking your wax and when it is melted to the recommended temperature for the style of wax you are using, you are ready to begin your first candle creation!
Your next steps are all about keeping the temperature in the room consistent, not bumping the table and trimming the wick when the candle is set.
There may be some issues on your first pour, such as sinkholes, wet spots etc. Feel free to reach out to the Illumina Candle Supplies team for more assistance or check out our handy tips: Click to email

Use our calculators to update the fields according to your needs – if you have any issues or need more help please feel free to reach out and get in touch with our team on hello@illuminacandlesupplies.com